Reviving Your Seattle Kitchen with Cabinet Painting
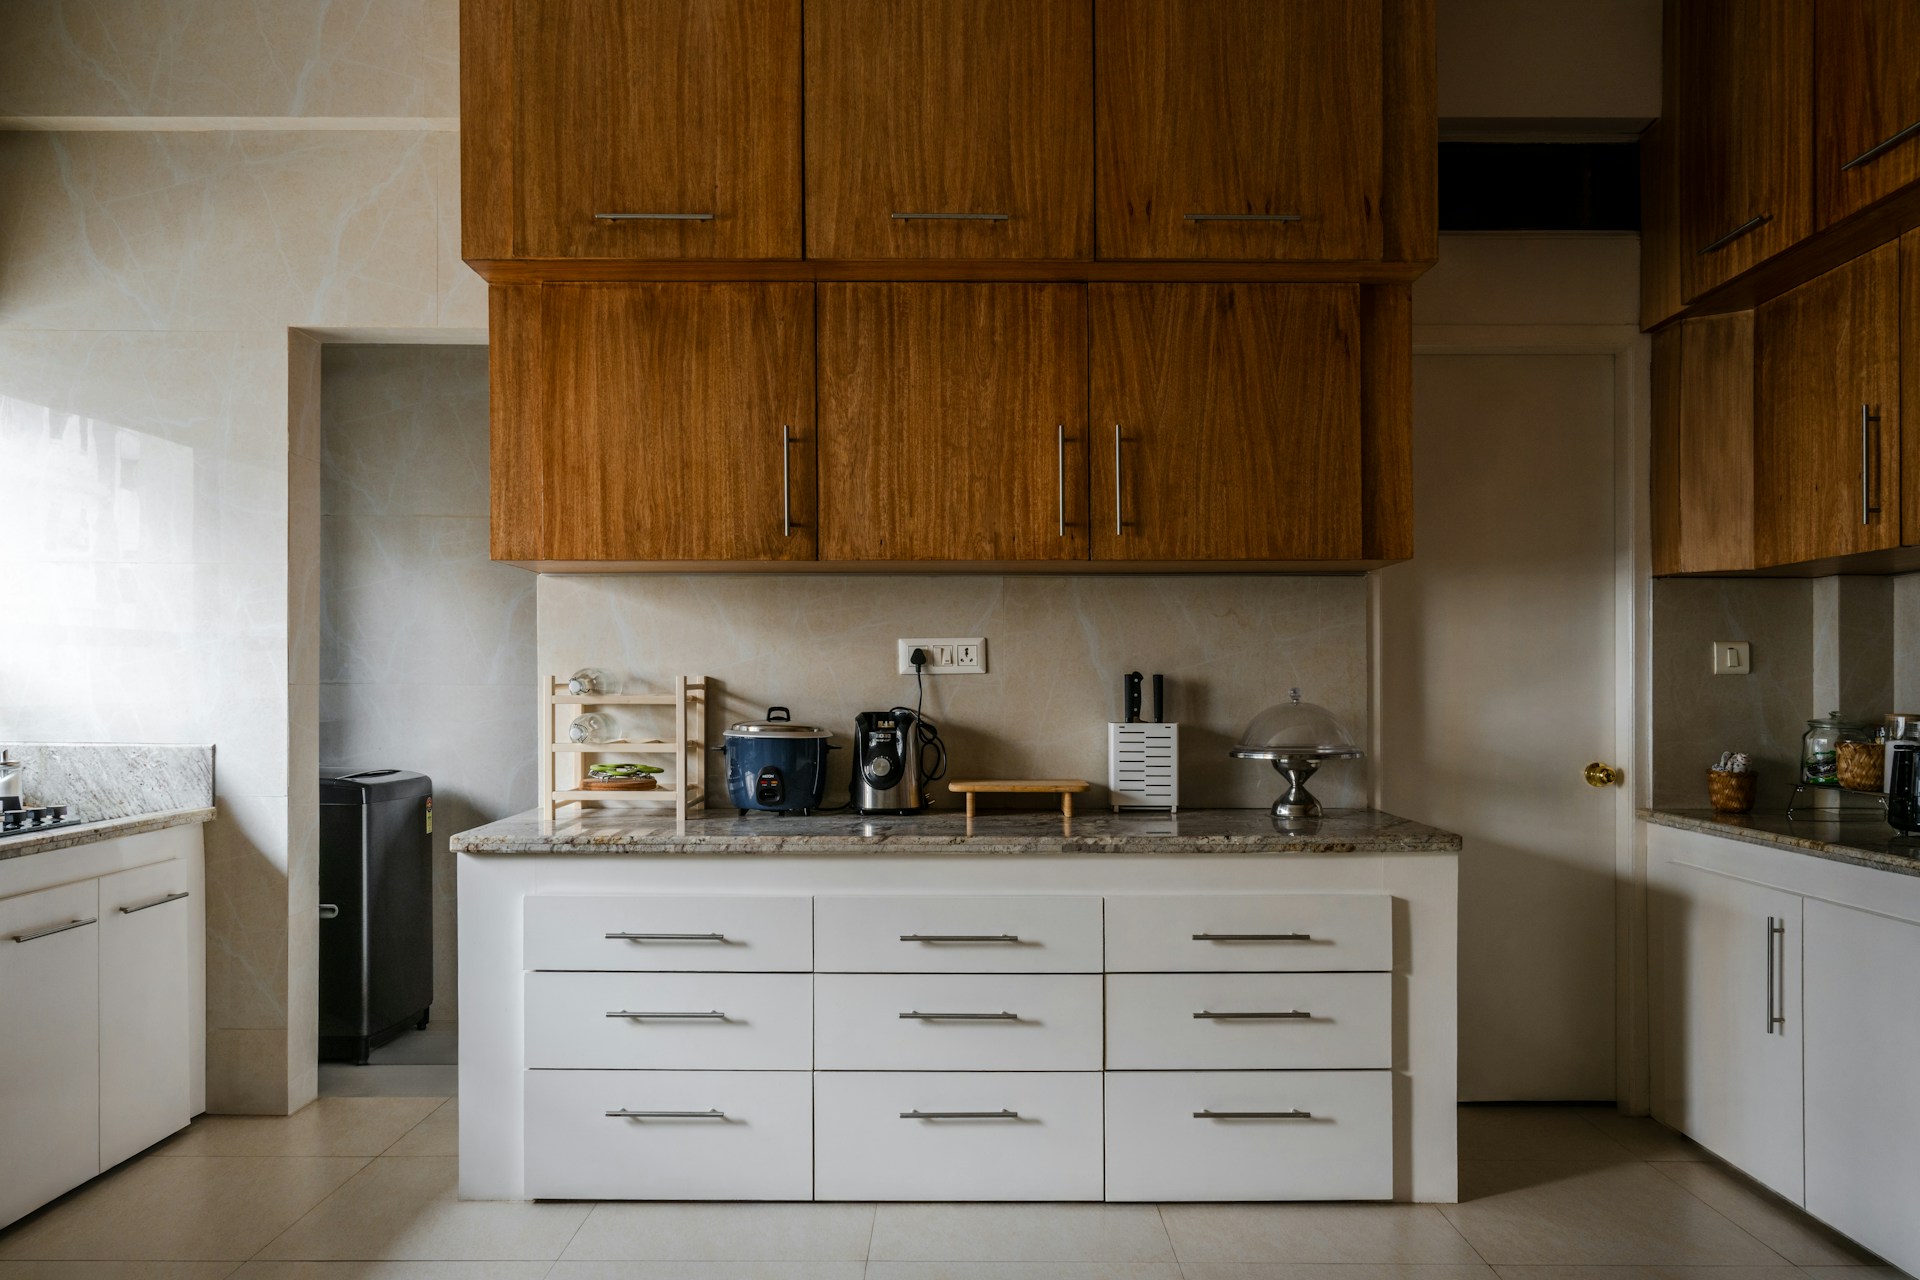
Cabinet painting offers a budget-friendly way to revitalize your Seattle & Northern Pacific Northwest kitchen, turning outdated cabinets into a modern focal point without the expense of a full replacement. At Lion’s Coat Painting, a family-owned business led by Carlos and Karla Leon, we see the excitement of a fresh kitchen design often overshadowed by the challenge of chipped finishes or botched DIY attempts. This detailed guide provides expert tips to achieve a professional result, whether you’re rolling up your sleeves or entrusting our local painting services to bring your Mukilteo or Woodinville kitchen to life.
Select the Ideal Paint for Cabinets
The paint you choose determines the durability, look, and maintenance of your cabinets, making it a critical decision for your busy kitchen.
- Oil-Based Paint: Provides a hard, smooth finish that resists scratches, perfect for high-traffic Seattle kitchens, though it requires longer drying times.
- Latex Paint: Water-based and easy to apply, ideal for a quick refresh in Renton, with good durability when sealed properly.
- Chalk Paint: Offers a trendy matte texture, great for a rustic Woodinville vibe, but always add a protective topcoat to prevent wear.
- Hybrid Enamel: Combines the best of oil and latex, offering a durable, low-odor option for busy households.
- Tip: Select a satin or semi-gloss finish for easy cleaning and to highlight your cabinet’s new look.
Prepare Cabinets Like a Pro
Proper preparation is the secret to a long-lasting cabinet paint job. Skipping these steps can lead to peeling or an uneven surface, turning your project into a frustration.
- Remove Doors and Hardware: Take off cabinet doors, drawers, and knobs, labeling them for easy reassembly to save time.
- Clean Surfaces: Use a degreaser like TSP to remove grease and grime, especially around handles, for a clean base.
- Sand and Prime: Sand with 120-150 grit sandpaper to rough up the surface, then apply a shellac-based primer to block stains and enhance adhesion.
- Fill Imperfections: Use wood filler for dents or cracks, sanding smooth after drying to create a flawless canvas.
Invest in the Right Tools
The tools you use can elevate your cabinet painting from amateur to expert, avoiding the disappointment of brush marks or drips.
- Angled Brushes: A 1.5-2 inch brush is perfect for cutting in edges and detailed areas with precision.
- Small Rollers: Use a 4-inch foam roller for flat panels, ensuring a smooth, bubble-free finish.
- Spray Guns: Ideal for a factory-like finish on multiple cabinets, but practice on scrap wood first.
- Sandpaper and Tack Cloths: Keep 220-grit sandpaper and tack cloths handy for sanding between coats and removing dust.
Perfect Your Painting Technique
The way you apply paint can make or break your cabinet’s appearance. Mastering these techniques ensures a polished result in your Seattle kitchen.
- Apply Thin Layers: Use 2-3 thin coats instead of one thick layer, allowing each to dry (4-6 hours) to avoid drips and ensure durability.
- Sand Between Coats: Lightly sand with 220-grit paper after each coat, wiping with a tack cloth for a silky finish.
- Work in a Dust-Free Space: Paint in a controlled environment, like a garage, to avoid dust settling on wet paint.
- Use Even Strokes: Brush or roll in long, even strokes, following the grain, to blend seamlessly.
Allow Adequate Curing Time
Rushing the curing process can lead to scratches or peeling, especially in a high-use kitchen. Patience pays off for a lasting finish.
- Dry Between Coats: Wait 4-6 hours between coats, ensuring each layer is tack-free before proceeding.
- Full Cure: Allow 7-10 days before heavy use, such as slamming doors or stacking dishes, to let the paint harden.
- Control Humidity: Use dehumidifiers in damp Seattle weather to speed curing and prevent moisture issues.
- Test Durability: Gently press a fingernail—if no mark remains, the cabinets are ready for use.
Add Final Touches for Perfection
The finishing steps elevate your cabinet painting to a professional level, completing your kitchen transformation.
Clean Up: Wipe down surfaces and dispose of materials responsibly to enjoy your new space.
Remove Tape Carefully: Peel off painter’s tape at a 45-degree angle while paint is slightly wet for clean lines.
Reinstall Hardware: Attach knobs and hinges, ensuring alignment for a polished look.
Touch Up: Use a small brush to fix minor imperfections, blending with the dried surface.